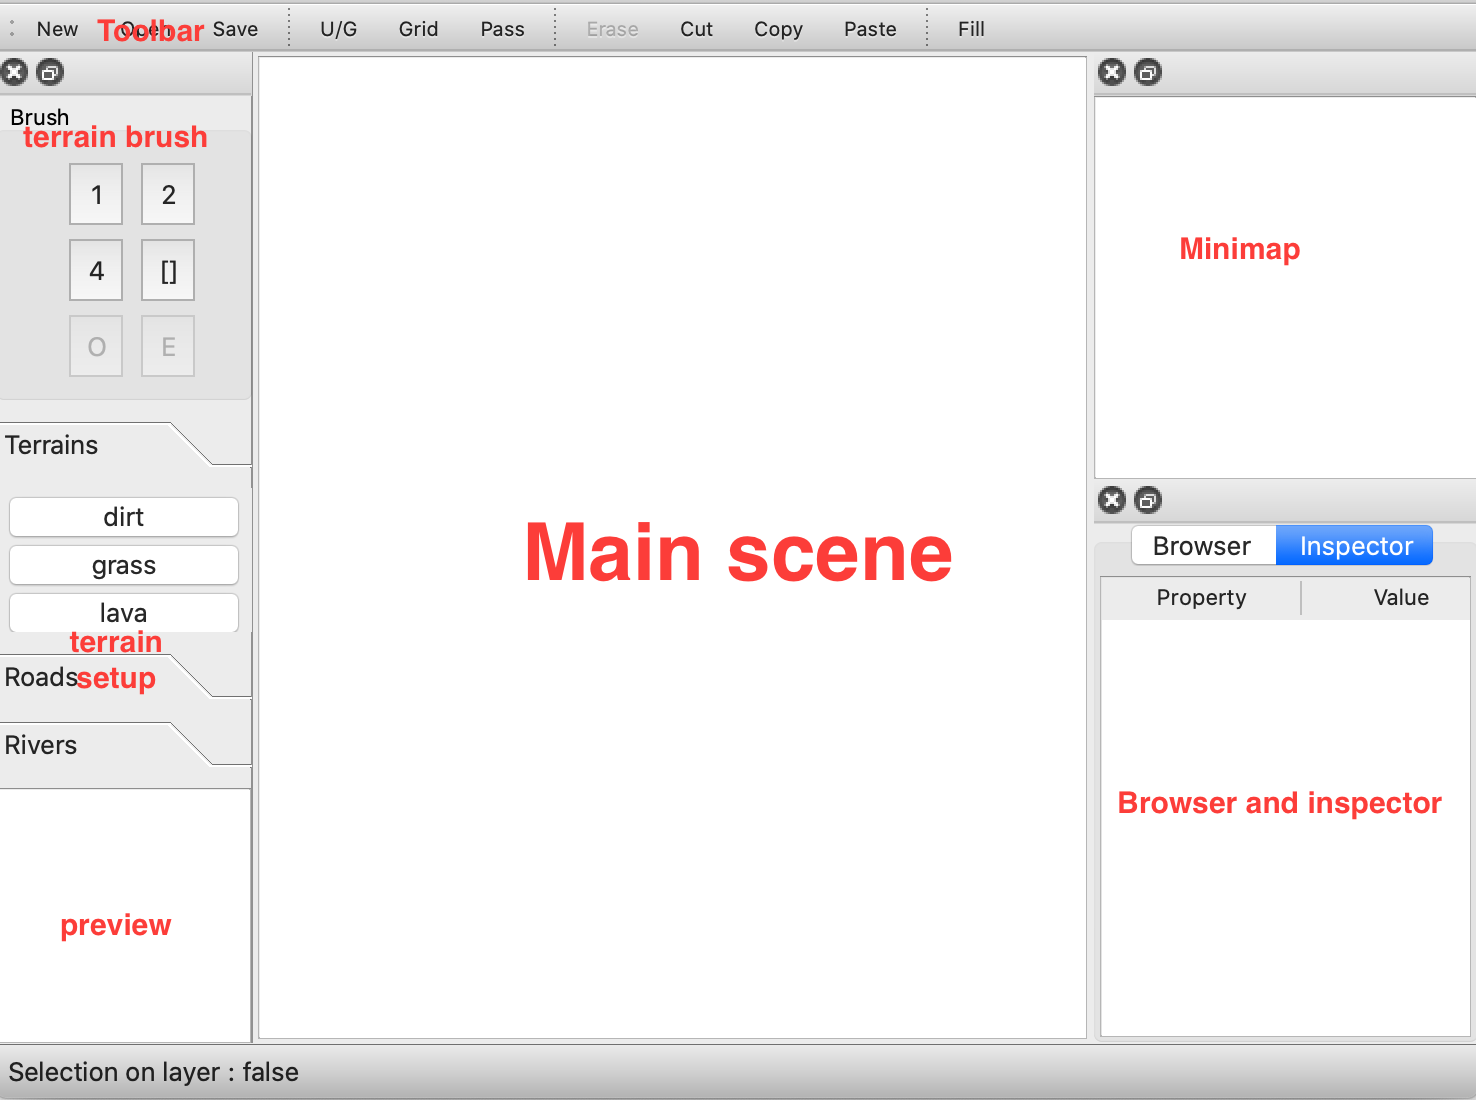
Interface
Create the map

New map
Create the new map by pressing New button from the toolbar
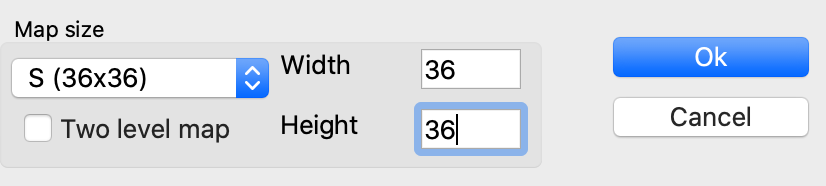
Empty map
To create empty map, define its size by choosing option from drop-down list or enter required size manually in the text fields and press Ok button. Check Two level map option to create map with underground.
Note: there are no limits on map size but be careful with sizes larger predefined XL size. It will be processed quite long to create even empty map. Also, it will be difficult to work with the huge maps because of possible performance issues
Other parameters won't be used for empty map.
Random map
To generate random map, check the Random map option and configure map parameters. You can select template from the drop-down list.
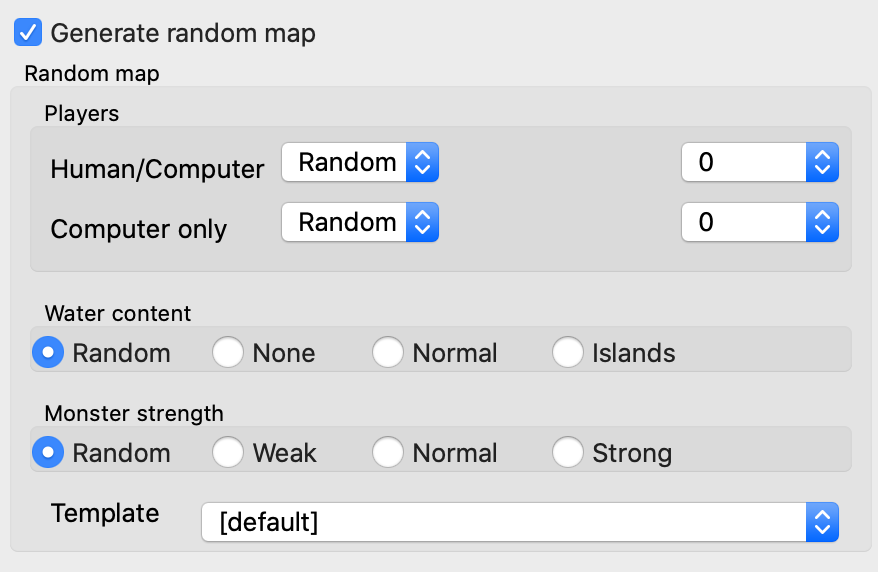
Templates are dynamically filtered depending on parameters you choose.
- [Default] template means that template will be randomly chosen
- If you see empty list it means that there are no templates fit your settings. It could be related to the settings chosen or it can mean that there are no templates install.

Map load & save
To load the map, press open and select map file from the browser.
You can load both *.h3m and *.vmap formats but for saving *.vmap is allowed only.
Views
There are 3 buttons switching views 
Ground/underground
"U/G" switches you between ground and underground
Grid view
Grid show/hide grid
Passability view
Pass show/hide passability map
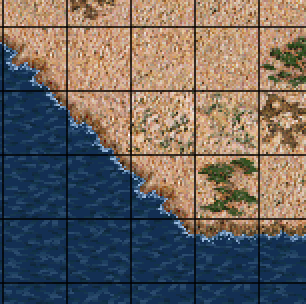
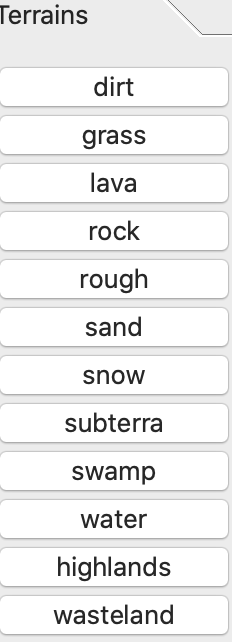
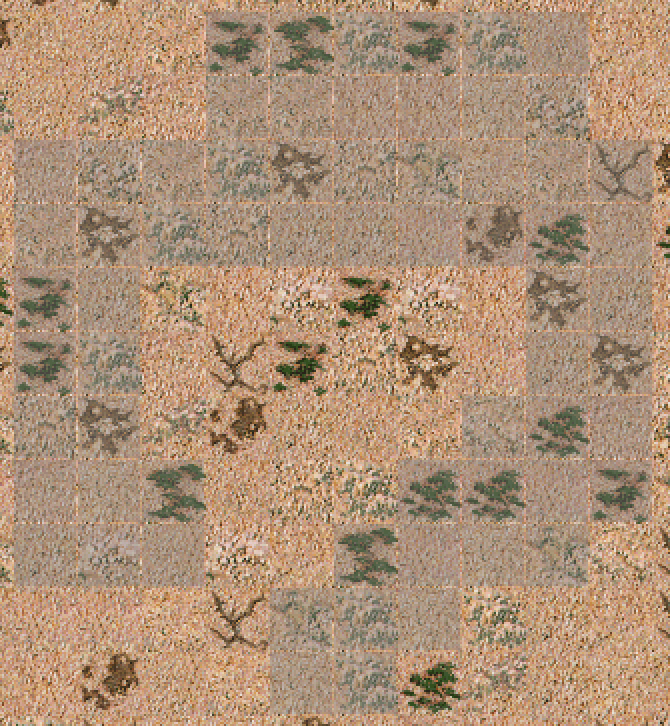
Setup terrain
-
Select brush you want

-
Select area you'd like to change
Note: left mouse button selects tiles, right button removes selection
- Press terrain you want
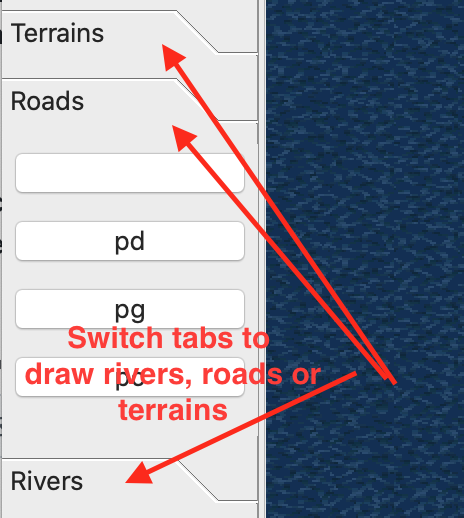
Drawing roads and rivers
Actually, the process to draw rivers or roads is exactly the same as for terrains. You need to select tiles and then choose road/river type from the panel.
To erase roads or rivers, you need to select tiles to be cleaned and press empty button.
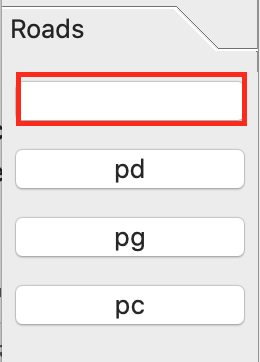
Erasing works either for roads or for rivers, e.g. empty button from the roads tab erases roads only, but not rivers. You also can safely select bigger area, because it won't erase anything on tiles without roads/rivers accordingly
About brushes
- Buttons "1", "2", "4" - 1x1, 2x2, 4x4 brush sizes accordingly
- Button "[]" - non-additive rectangle selection
- Button "O" - lasso brush (not implemented yet)
- Button "E" - object erase, not a brush
Fill obstacles
Map editor supports automatic obstacle placement. Obstacle types are automatically selected for appropriate terrain types
To do that, select area (see Setup terrains) and press Fill button from the toolbar

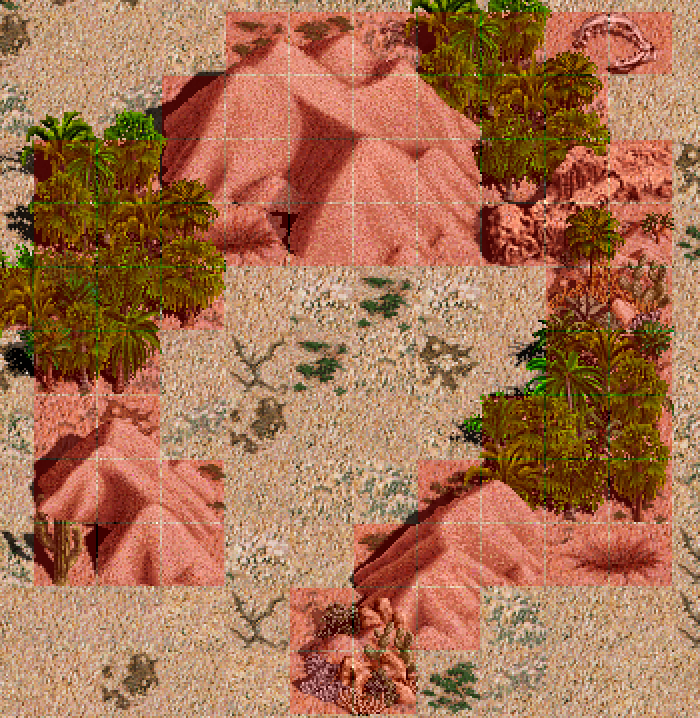
Note: obstacle placer may occupy few neighbour tiles outside of selected area
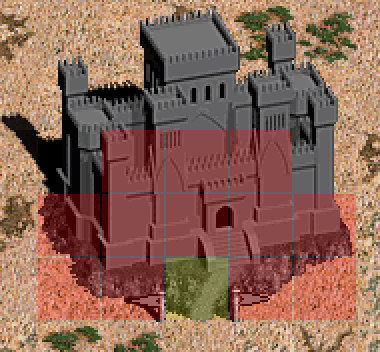
Manipulating objects
Adding new objects
- Find the object you'd like to place in the object browser
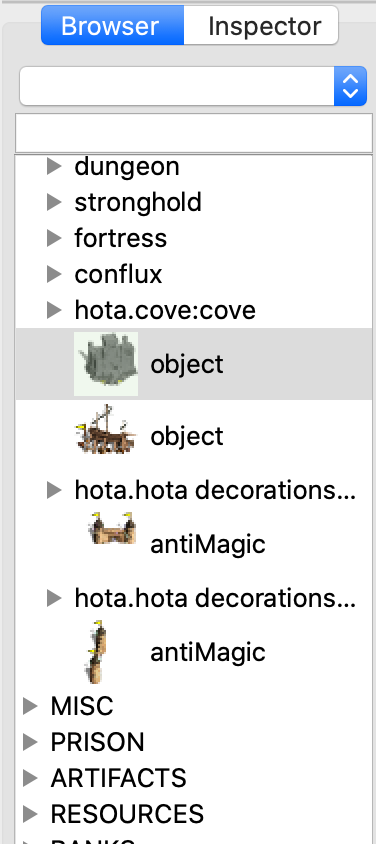
- You can also see selected object in preview area in the left part of application window
- Hold mouse at object you want to place and move it to the map. You will see transparent object. Release object at point to confirm its creation
- Press somewhere on the map to locate object.
Right click over the scene - cancel object placement
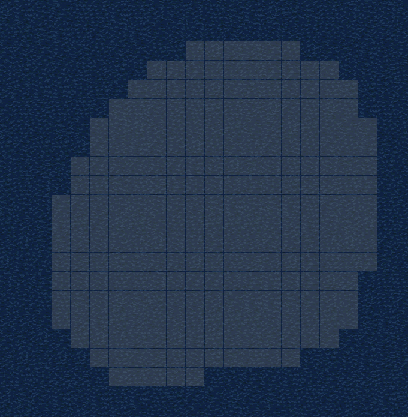
Removing objects
-
Make sure that no one terrain brush is selected. To de-select brush click on selected brush again.
-
Select object you'd like to remove by simple clicking on it. You can also select multiple objects by moving mouse while left button is pressed

-
Press "E" button from the brush panel or press delete on keyboard
Changing object's properties
-
Make sure that no one terrain brush is selected. To de-select brush click on selected brush again.
-
Select object you'd like to remove by simple clicking on it. You cannot review and modify properties for several objects, multiple selection is not supported.
-
Go to the inspector tab. You will see object's properties
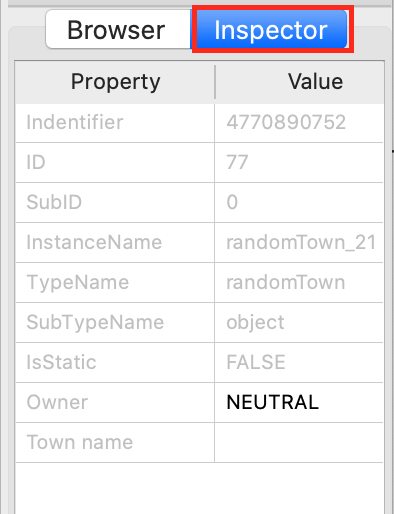
- You are able to modify properties which are not gray
Note: sometimes there are empty editable fields
Assigning player to the object
Objects with flags can be assigned to the player. Find Owner property in the inspector for selected object, press twice to modify right cell. Type player number from 0 to 7 or type NEUTRAL for neutral objects.
Set up the map
You can modify general properties of the map
Map name and description
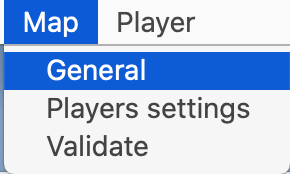
- Open Map menu on the top and select General
-
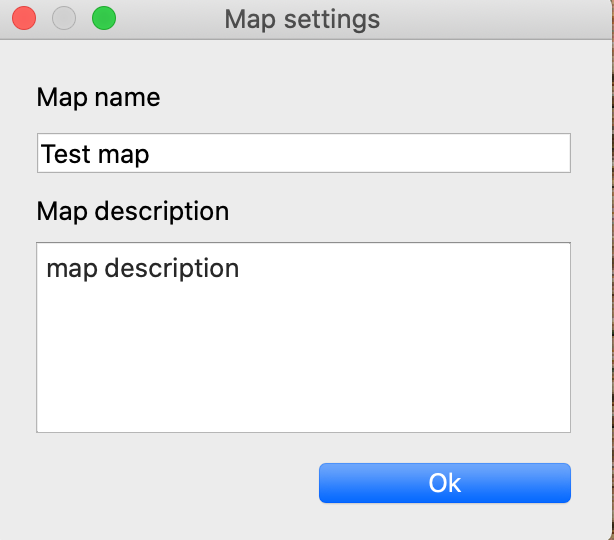
You will see a new window with text fields to edit map name and description
-
Pressing Ok will save the changes, closing the window will discard the changes
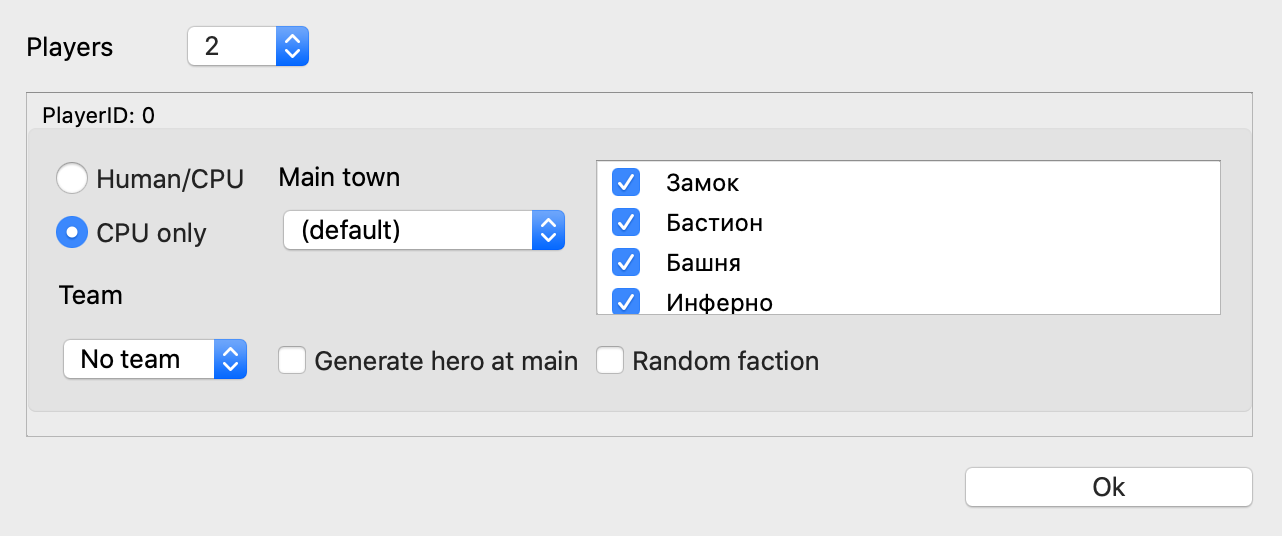
Player settings
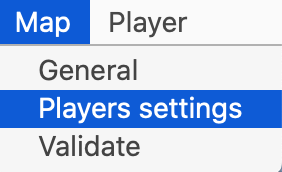
Open Map menu on the top and select **Player settings"
You will see a window with player settings. Combobox players defines amount of players on the map. To review settings for particular player scroll the internal window. There are bunch on settings for each player you can change.
Important: at least one player must be controlled as Human/CPU. Maps without human players won't be started in the game at most cases